We recently moved to a home in the area of Topsail Beach in North Carolina. We rent this home. That means limited decor ideas, no painting, remodeling, etc…. Mum had to get creative with ways to decorate Brother Sean’s room.
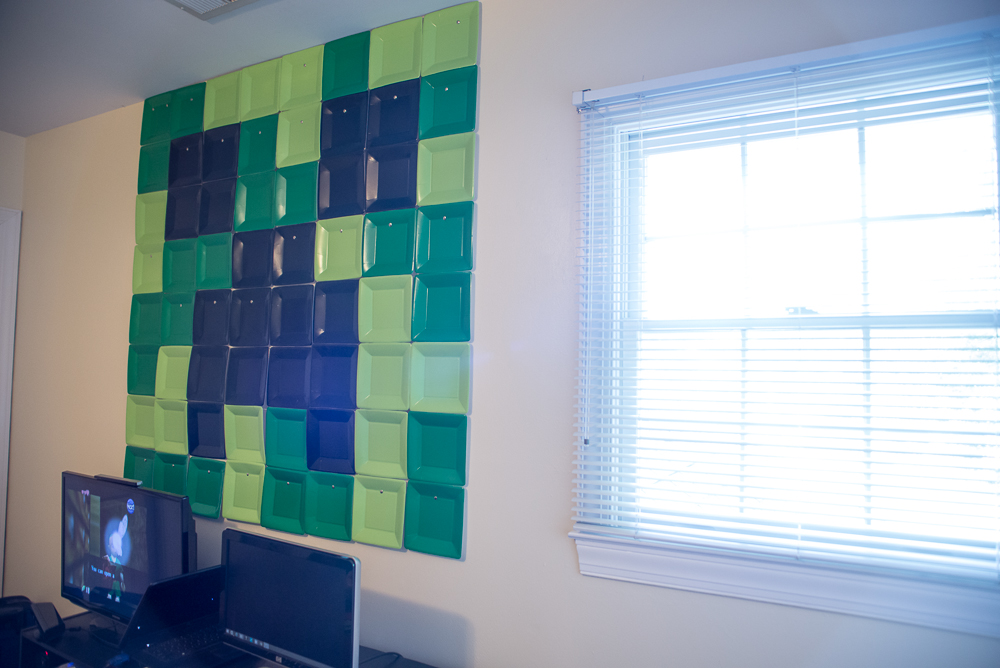
This is Brother Sean’s first time having his OWN room! He has always shared with his little brother, and that was fine when they were little but now he is older and excited for his own space. He is really into this game called Minecraft. Its popular amongst the preteen/teen crowd these days. Mum searched on pinterest ways to decorate minecraft bedrooms and while there are some really elaborate ways to do it, her two main objects were #1 not permanent #2 not expensive. She came across this pin and it exactly fit her main objectives! It was large enough to cover an entire wall, inexpensive, and was not permanent, like paint.
She received many messages on Facebook asking exactly how she created this look, so wanted to share it all here. The original idea was found off Pinterest, she wants to make that clear. 🙂

Materials used cost Mum a total of under $20.
The actual image is created with square paper dessert plates from Party City. They can be found in the store or you can order them online.
2 pks (40) 7 in Festive Green Square Dessert Plates
1 pk (20) 7 in Kiwi Paper Dessert Plates
1 pk (20) 7 in Black Paper Dessert Plates
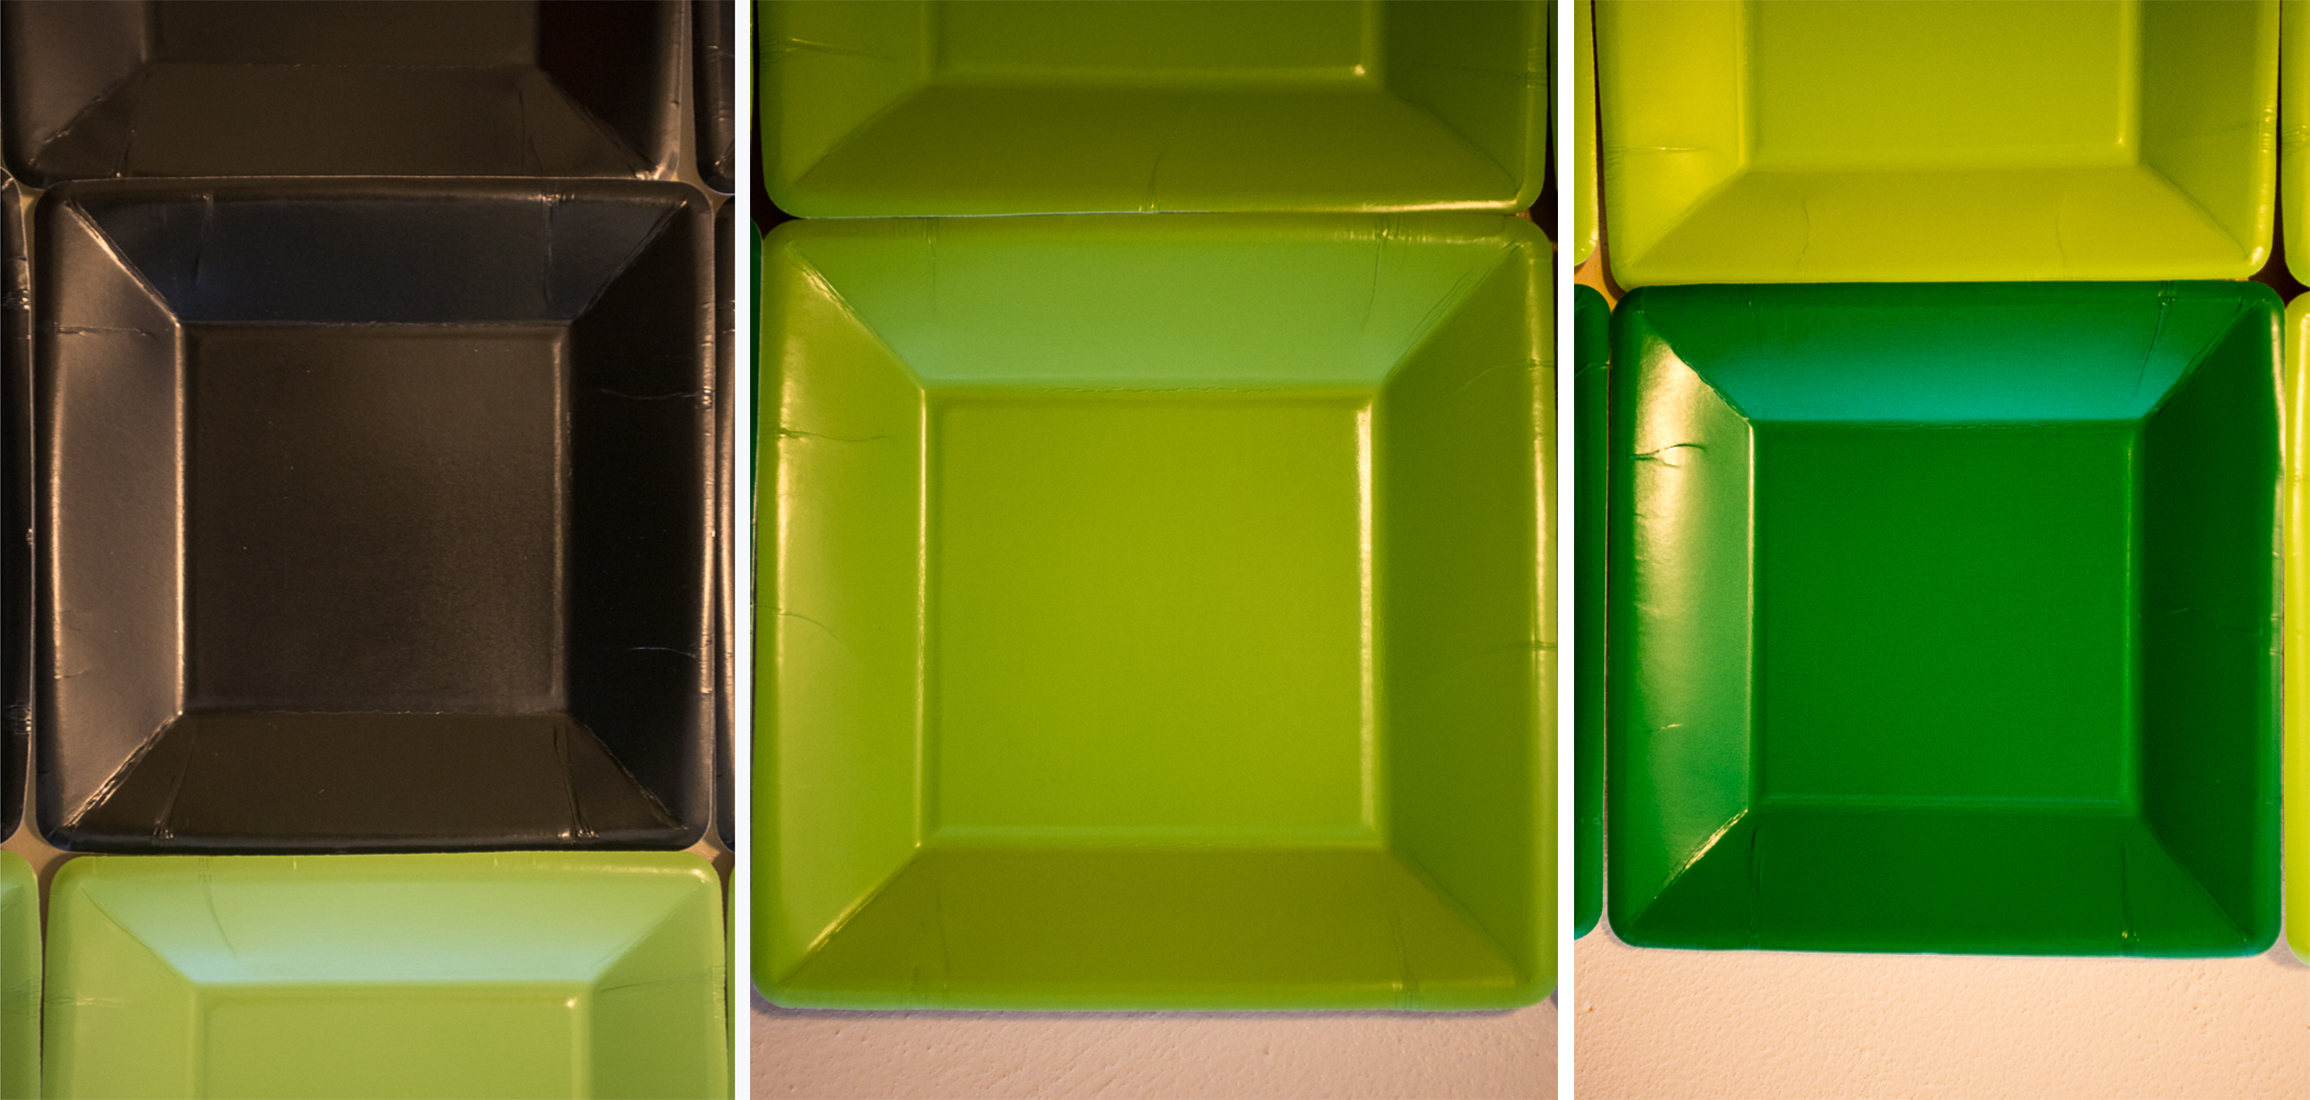
7in Paper Plates from Party City
step stool/small ladder
Mum arranged the pattern via how the PIN was laid out, 8 rows across, 8 rows down. It was easier for her to go vertical row, by vertical row.
I will try to type out the pattern but it makes it really confusing. Just look at the photo and copy it….
DG=Dark Green
LG=Light Green
B= Black
Row 1 down: DG, DG, LG, LG, DG, DG, LG, DG
Row 2 down: DG, B, B, DG, DG, LG, LG, DG
Row 3 down: LG, B, B, DG, B, B, B, DG
Row 4 down: LG, DG, DG, B, B, B, LG, LG
Row 5 down: LG, LG, DG, B, B, B, DG, DG, DG
Row 6 down: DG, B, B, LG, B, B, B, DG
Row 7 down: LG, B, B, DG, LG, LG, LG, LG
Row 8 down: LG, DG, LG, DG, DG, LG, DG, DG
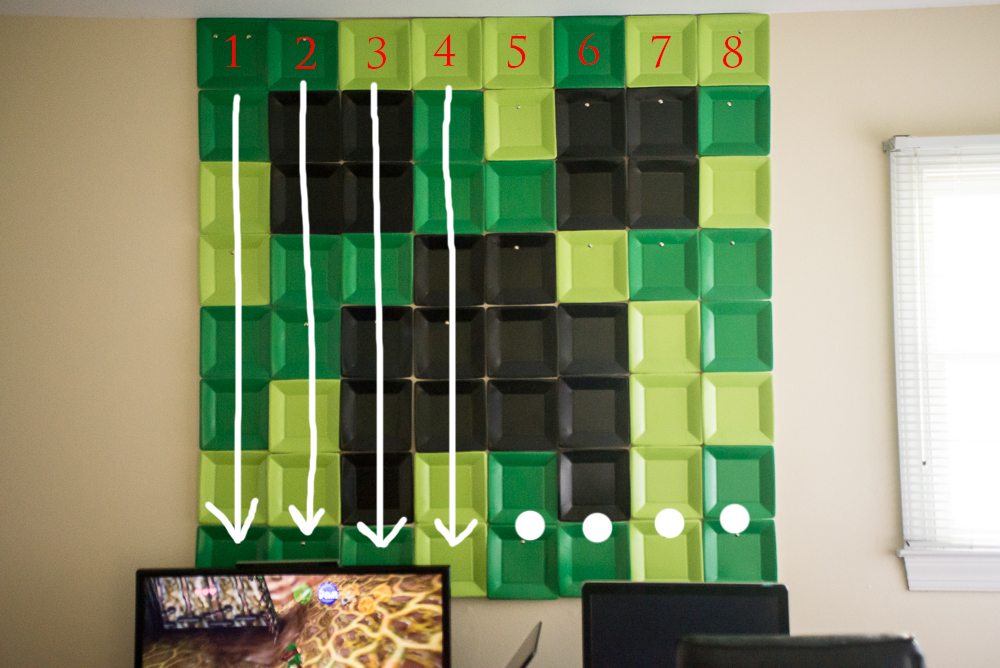
DO EACH ROW SEPARATE, SO YOU HAVE 8 SEPARATE ROWS OF 8 PLATES.
Attach each plate with a bit of wide, clear, box tape.

Mum hung each row individually so she had 8 rows across. It is easier this way then attaching a HUGE floppy bunch of plates taped together…. You could attach them to the wall any way you choose, Mum used a thumbtack because that is what she had in the garage, and it takes less tools to lug upstairs then a nail. Also use a step stool if you want to hang it high.

Its very simple to make and I really hope you can find a way to use this tutorial.
Brother Sean actually teared up when he saw his room with this art on the wall. Sometime so simple really loved. That is what days are made of!
xoxo,
Stevie


My boys are obsessed with Minecraft as well; love this! Thank you for sharing! What a great way to decorate with a budget in mind!